This post may contain affiliate links. Please see my disclosure policy for details.
Fall Leaves Decor That’ll Make Your Feed (and Home) Absolutely Glow
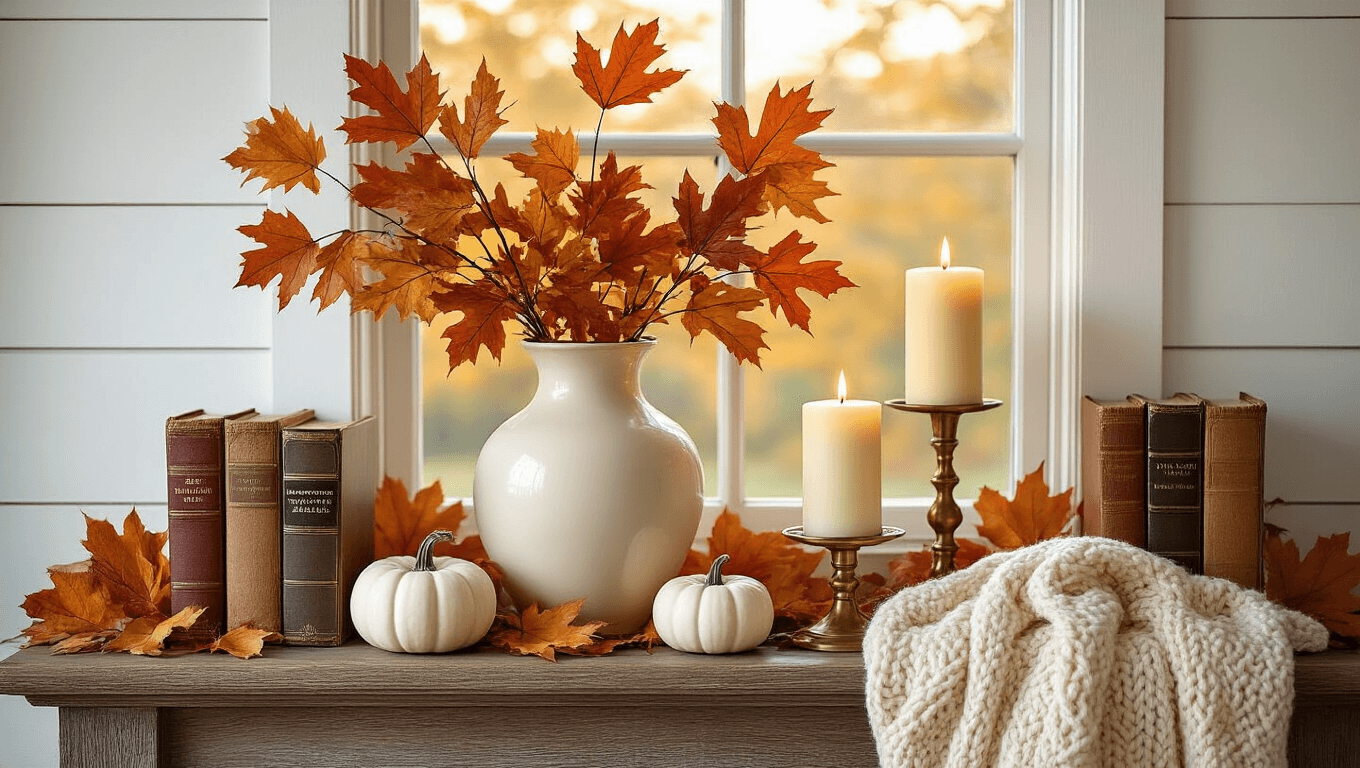
Fall leaves transform any space into a cozy autumn haven, and I’m going to show you exactly how to style them like you’ve been doing this for years.
Look, I get it. You scroll through Pinterest, see those ridiculously gorgeous fall vignettes, and think “there’s no way my mantel will ever look like that.” You grab some leaves from the yard, plop them in a vase, and somehow it looks more sad than seasonal.
Been there, photographed that disaster.
But here’s what nobody tells you: those jaw-dropping fall setups aren’t about having a massive budget or a design degree. They’re about understanding a few simple layering tricks and knowing how to make those autumn colors sing.
I’ve spent the last five years styling seasonal content for my home, and I’m going to walk you through everything I wish someone had told me when I started.
Why Fall Leaves Work Magic in Every Single Room
Real talk: fall leaves are the ultimate budget decor hack.
While everyone’s dropping $50 on a single decorative pumpkin, you can walk outside and gather armfuls of free, gorgeous color that’ll make your space look like it belongs in a magazine.
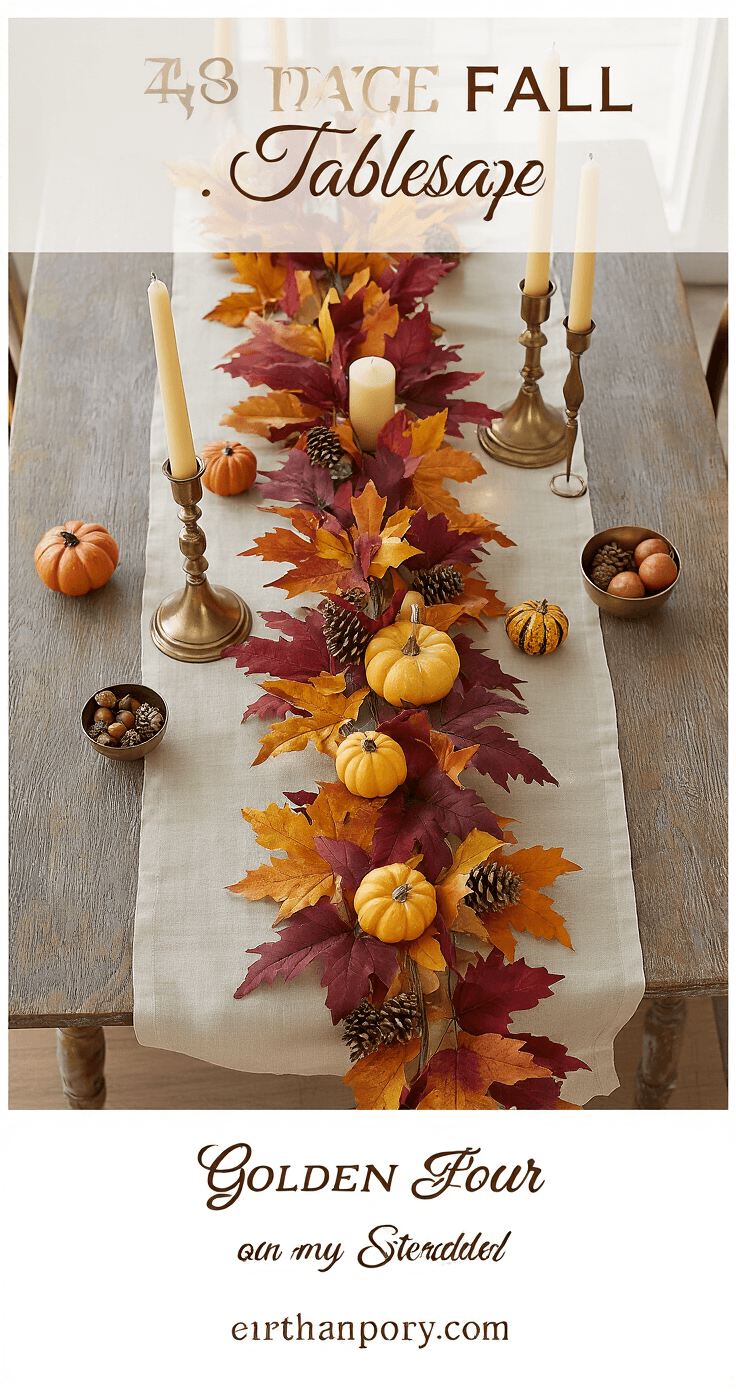
And if you live in an apartment or somewhere without great leaf access, a simple faux fall leaf garland from Amazon will last you years and pays for itself after one season.
The science behind why fall leaves look so incredible is actually fascinating. As chlorophyll breaks down in autumn, those hidden yellow, orange, and red pigments finally get their moment to shine. That’s why you get those rich golds, fiery oranges, and deep burgundies that make your heart do a little happy dance.
What You Actually Need (Spoiler: Not Much)
The Bare Essentials
I’m keeping this stupid simple because you probably already own most of this:
- Fall leaves (real from outside, or faux branches/garlands)
- Something to put them in – vases, jars, bowls, baskets, whatever
- Your phone camera or any camera you’ve got
- Natural light from a window or door
- A clear surface to work with
That’s it for the basics.
The Nice-to-Haves
Once you’re hooked (and you will be), these extras level up your game:
- Pillar candles in cream or ivory – nothing says “cozy fall” faster
- Throws and textured pillows in rust, mustard, or cream
- Wooden trays, cutting boards, or crates for layering
- Books (old hardcovers work brilliantly)
- Small pumpkins or gourds
- A simple LED panel light for evening shoots
Budget Real Talk
Here’s how the money shakes out:
$0–$40 tier: Forage leaves, use what you own, maybe grab one garland and some dollar store candles. This absolutely works and can look phenomenal.
$40–$150 tier: Add a few faux stems, new pillows, better candles, maybe a wreath. This is my sweet spot.
$150+ tier: Going all in with multiple garlands, new throws, lanterns, full tablescape items. Only worth it if you’re building a seasonal decor collection you’ll use for years.
I started at the zero-dollar level, raiding my yard and kitchen. My first viral fall photo featured leaves from my neighbor’s maple tree stuck in a mason jar I found in my basement.
Save this article
Enter your email and we'll send it straight to your inbox.
Setting Up Your First Fall Leaves Scene
Let me walk you through this like I’m right there with you, because this is where most people either nail it or end up frustrated.
Step One: Pick Your Battlefield
Don’t try to decorate your entire house in one afternoon. You’ll burn out faster than those leaves change color.
Start with one small area:
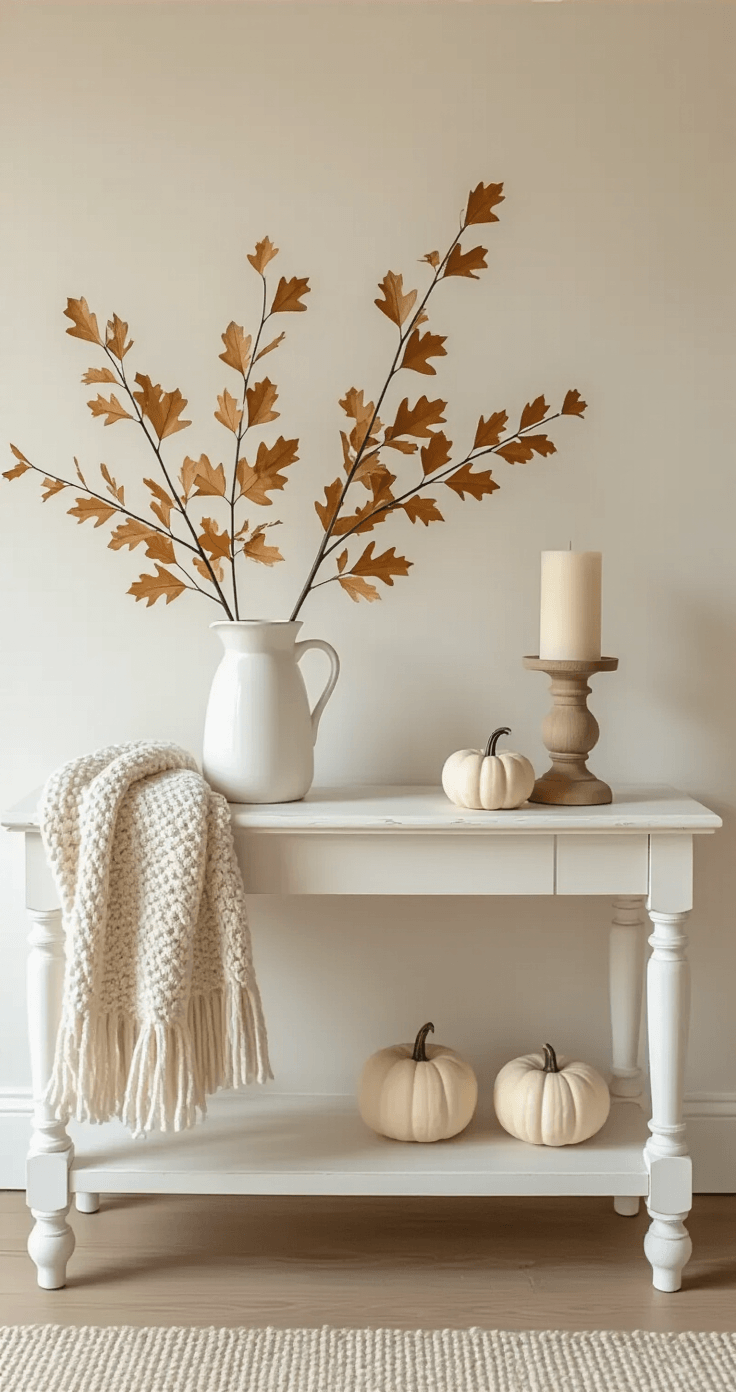
- An entryway console table (about 4–6 feet wide is perfect)
- Your coffee table
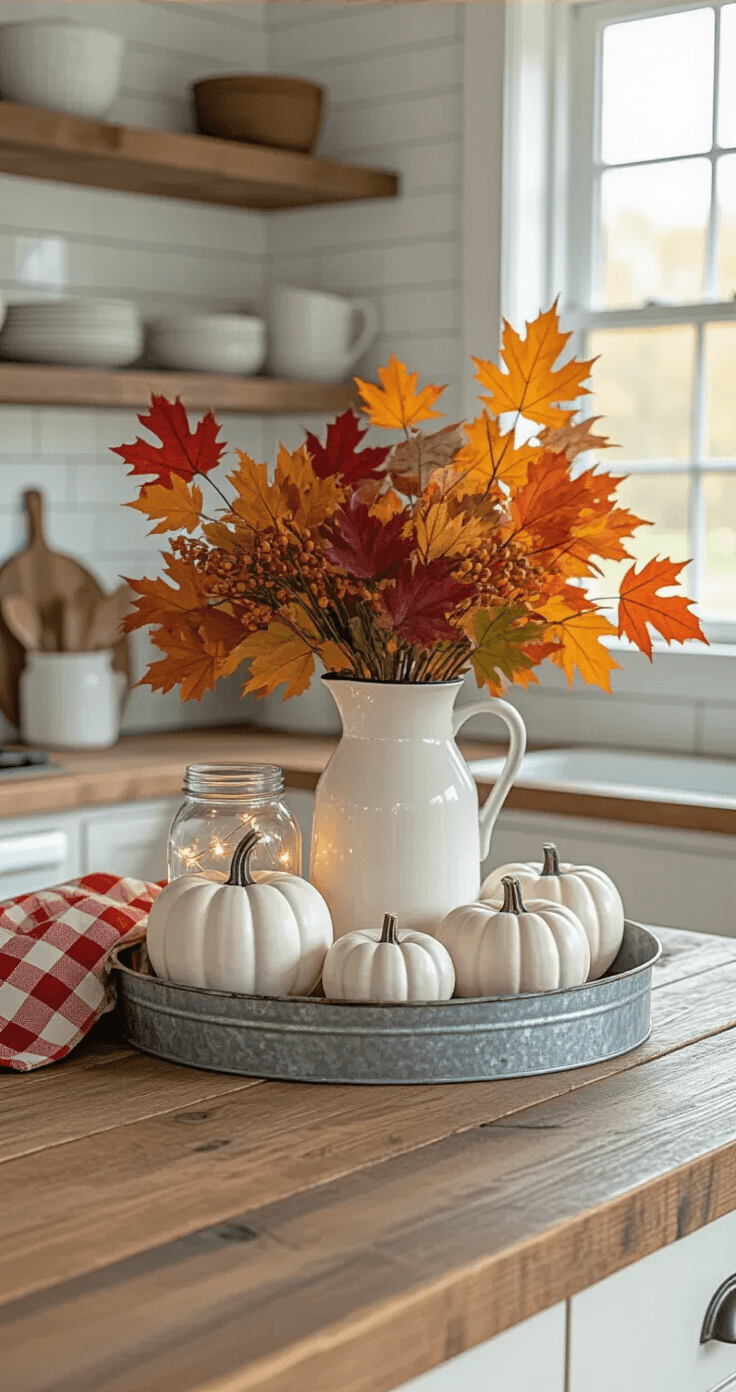
- Kitchen island corner
- A shelf you pass every day
- Fireplace mantel
- A patio side table
I always start with my console table because it’s the first thing I see when I walk in, and it’s exactly the right size for not overwhelming myself.
Step Two: Clear the Decks
Remove everything. Yes, everything. All that mail, your keys, the random candle that’s been there since July.
Clean slate = clear mind = better styling.
Step Three: The Background Matters More Than You Think
Before you place a single leaf, look at what’s behind your scene.
Best backgrounds:
- Plain white or cream walls
- Wood paneling or shiplap
- Neutral painted walls
- Outside: a fence, garden bed, or simple patio
Backgrounds that’ll sabotage you:
- Busy wallpaper
- Cluttered shelves in the shot
- Weird shadows from overhead lights
- Bright distracting colors
If your background is a mess, grab a foam board from the dollar store or hang a neutral fabric. I keep a cream-colored poster board that’s saved more photos than I can count.
Step Four: Build Your Scene (This Is Where the Magic Happens)
I’m giving you my exact formula that works every single time:
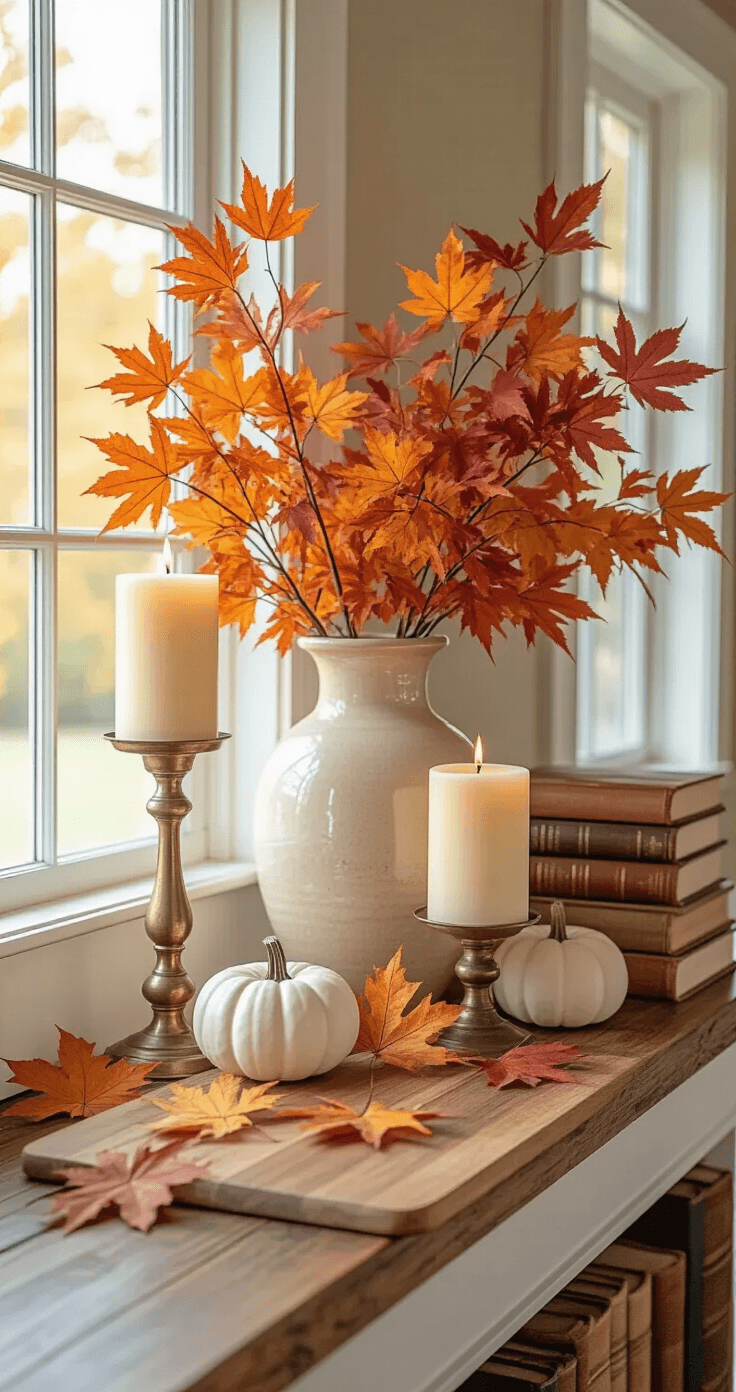
Layer 1 – The Foundation
Put down your base: a table runner, a wooden tray, a cutting board, or just the bare surface if it’s pretty wood.
Layer 2 – The Hero
Place your main fall leaf arrangement. This is your star player, so give it the spotlight.
For me, this is usually:
- A vase with 5–7 colorful branches
- A wreath leaning against the wall
- A garland draped naturally (not too perfect, a little messy is good)
Layer 3 – The Supporting Cast
Add 2–4 supporting
Keep this one for later
We'll email you the link so you can come back to it.