
This post may contain affiliate links. Please see my disclosure policy for details.
Ultimate Guide to Lawn Edging: Transform Your Garden’s Borders Like a Pro
Contents
- Ultimate Guide to Lawn Edging: Transform Your Garden’s Borders Like a Pro
- Why Lawn Edging Matters: More Than Just a Pretty Border
- Choosing Your Lawn Edging: A Material Matchmaker Guide
- Installation: From Rookie to Pro in Minutes
- Maintenance: Keep Your Edges Sharp
- Common Mistakes to Avoid
- Budget Considerations
- Final Pro Tips
Creating crisp, clean garden borders isn’t just about looks—it’s about creating a landscaping masterpiece that makes your neighbors stop and stare.

🖼 Steal This Look
- Paint Color: Sherwin-Williams Garden Grove SW 6445
- Furniture: weathered teak Adirondack chair with built-in wine glass holder
- Lighting: low-voltage bronze path lights with hammered glass shades
- Materials: corten steel edging strips, Belgian block granite, crushed bluestone, aged cedar mulch
There’s something deeply satisfying about running a string line and seeing that perfect edge materialize from chaos—this is the garden equivalent of a fresh haircut, and you’ll find yourself walking the perimeter with your morning coffee just to admire the crisp geometry you created.
Why Lawn Edging Matters: More Than Just a Pretty Border
Let’s cut to the chase. Lawn edging isn’t some fancy garden accessory. It’s your yard’s secret weapon for:
- Stopping grass from going rogue into flower beds
- Preventing soil erosion
- Creating that magazine-worthy, manicured look

💡 Steal This Look
- Paint Color: Benjamin Moore Hunter Green HC-109
- Furniture: weathered teak Adirondack chair with olive green Sunbrella cushion
- Lighting: Hammered copper path light with seeded glass shade
- Materials: corten steel edging strips, bluestone gravel, crushed oyster shell mulch, reclaimed brick pavers
I’ve learned the hard way that skimping on edging always costs more in the long run—my first garden looked pristine in May and like a wild meadow by August because I thought a shovel-cut edge would be ‘good enough.’
Choosing Your Lawn Edging: A Material Matchmaker Guide
Steel/Galvanized Edging
Perfect for: Professional landscapers and perfectionists
Pros:
- Tough as nails
- Mow-over design
- Sleek, modern look
Steel landscape edging is like the sports car of garden borders—expensive but worth every penny.

Plastic Edging
Budget-friendly champion
- Wallet-friendly
- Super flexible for curves
- Easy DIY installation
Pro tip: Not all plastic is created equal. Invest in quality plastic landscape edging for longevity.
Rubber Edging
Flexible friend for challenging landscapes
- Bends like a yoga master
- Weather-resistant
- Great for irregular garden shapes

Wood Edging
Rustic charm meets functionality
- Natural, warm aesthetic
- Easy to customize
- Perfect for cottage garden vibes
Warning: Requires more maintenance than other materials.

🖼 Steal This Look
- Paint Color: Farrow & Ball Studio Green 93
- Furniture: weathered teak garden bench with slatted back
- Lighting: low-voltage brass path lights with frosted glass domes
- Materials: hot-dipped galvanized steel, FSC-certified cedar, recycled rubber mulch, corten weathering steel
There’s something deeply satisfying about a crisp lawn edge that separates intentional design from chaotic nature—it’s the difference between a garden that looks inherited and one that feels deliberately yours.
Installation: From Rookie to Pro in Minutes
DIY Installation Tips
- Use a rubber mallet for precise placement
- Always check ground level
- Use stakes for extra stability
Pro Techniques
- Clear the edge area completely
- Create a clean, defined line
- Install edging slightly above ground level
- Compact surrounding soil

💡 Steal This Look
- Paint Color: Behr Black Mocha PPU5-01
- Furniture: weather-resistant outdoor storage bench with built-in tool caddy
- Lighting: solar-powered LED pathway lights with motion sensors
- Materials: powder-coated aluminum edging strips, galvanized steel stakes, rubber mallet with fiberglass handle, crushed limestone base layer
There’s something deeply satisfying about stepping back from a crisp, clean edge line you set yourself—it’s the moment your yard stops looking like inherited land and starts feeling like intentional design.
Maintenance: Keep Your Edges Sharp
Weekly Tasks:
- Trim overgrowing grass
- Check for shifts or damage
- Remove debris
Seasonal Maintenance:
- Spring: Realign and reset edging
- Fall: Prepare for winter conditions
- Winter: Minimal maintenance required

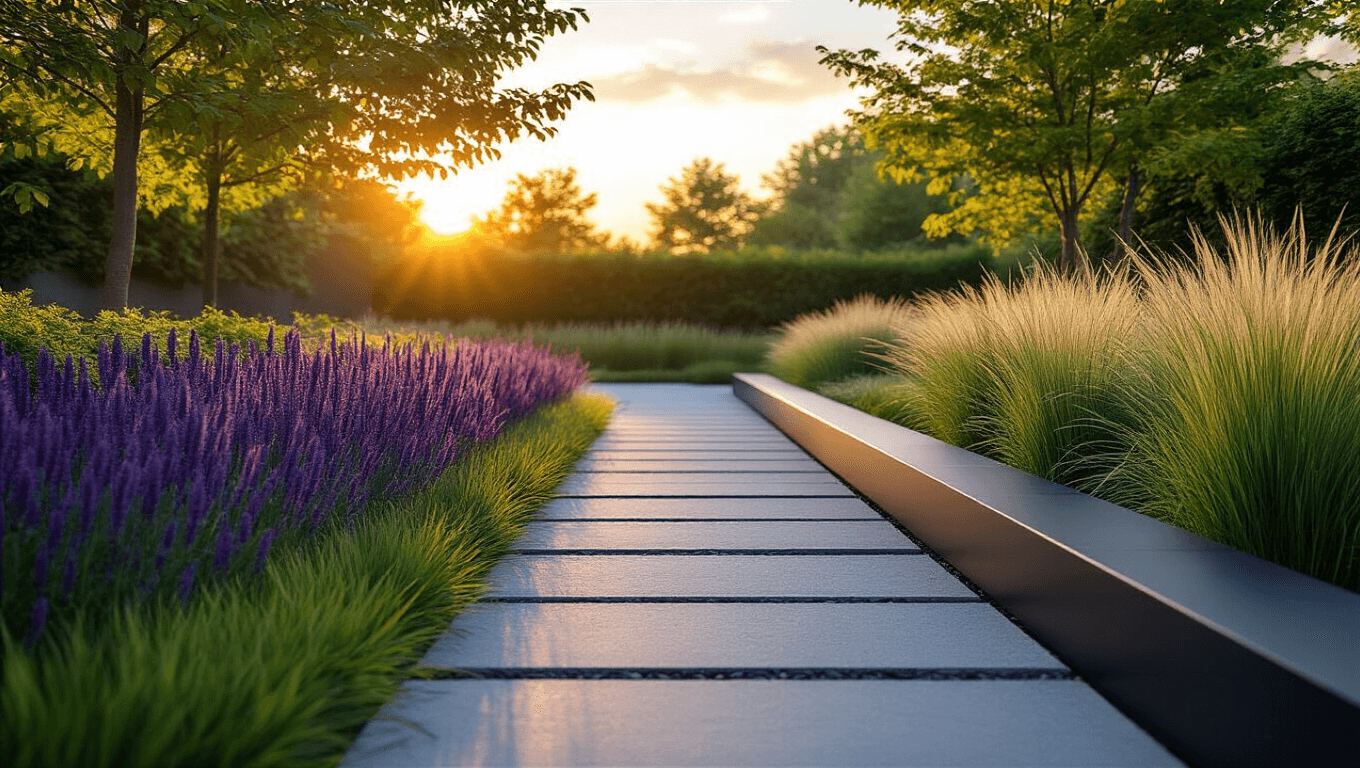
🏠 Steal This Look
- Paint Color: use Valspar brand. Match the ACTUAL wall color in the image. Format: Valspar ColorName CODE
- Furniture: weathered teak potting bench with galvanized steel top for tool organization and workspace
- Lighting: solar-powered LED path lights with motion sensors along edging perimeter
- Materials: powder-coated aluminum edging strips, crushed decomposed granite, natural cedar mulch, galvanized steel hardware
There’s something deeply satisfying about crisp lawn edges that frame your outdoor space like a finished painting, and the ritual of weekly maintenance becomes meditative once you establish the right rhythm and tools.
Common Mistakes to Avoid
- ❌ Choosing the wrong material for your climate
- ❌ Improper installation
- ❌ Neglecting regular maintenance
- ❌ Ignoring your specific landscape needs
Budget Considerations
Budget Breakdown:
- Plastic: $ (Cheapest)
- Rubber: $$
- Steel/Aluminum: $$$
- Stone/Brick: $$$$
Final Pro Tips
- Match edging to your landscape style
- Consider long-term durability
- Think about maintenance requirements
- Don’t be afraid to mix materials
Lawn edging isn’t just a garden accessory—it’s a statement. Choose wisely, install carefully, and watch your outdoor space transform.
Ready to edge like a pro? Your perfect garden border awaits!


—Here's How You Can Too")